Share
Presenting Your Best and Archiving the Rest: Listed vs. Unlisted Photos
As a photographer, it’s important to keep your work accessible and easily shareable with clients. It’s also vital you keep track of unfinished ...
As a photographer, it’s important to keep your work accessible and easily shareable with clients. It’s also vital you keep track of unfinished projects, unedited photos and extra files.
One benefit of storing and managing your work with PhotoShelter is that you can display any photo you’d like on your public website, while keeping the rest of your files out of sight in a robust and easily searchable archive.
Choosing where your images live is a key component to customizing your setup in PhotoShelter. That’s why we built the Listed and Unlisted sections of your Image Browser. Below, we’re breaking down the differences between the two and explaining how each option plays an important role in the way you organize your account.
But first, a quick note on the differences between the portfolio and archive sections of a PhotoShelter website:
In PhotoShelter, the portfolio is the “front-end” of your website, where you feature a carefully curated selection of your best work. Think of it like your site’s first impression — it’s what visitors will see as soon as they hit your homepage.
The archive is the area of your site where your larger body of work and all the client-facing tools live (like the shopping cart and download options), allowing your portfolio to remain as uncluttered and streamlined as possible. So while your portfolio is carefully curated, your archive is a more complete and extensive version of your image library.
As always, it’s completely up to you what you decide to feature in your portfolio or list in your archive.
Now, onto the main event!
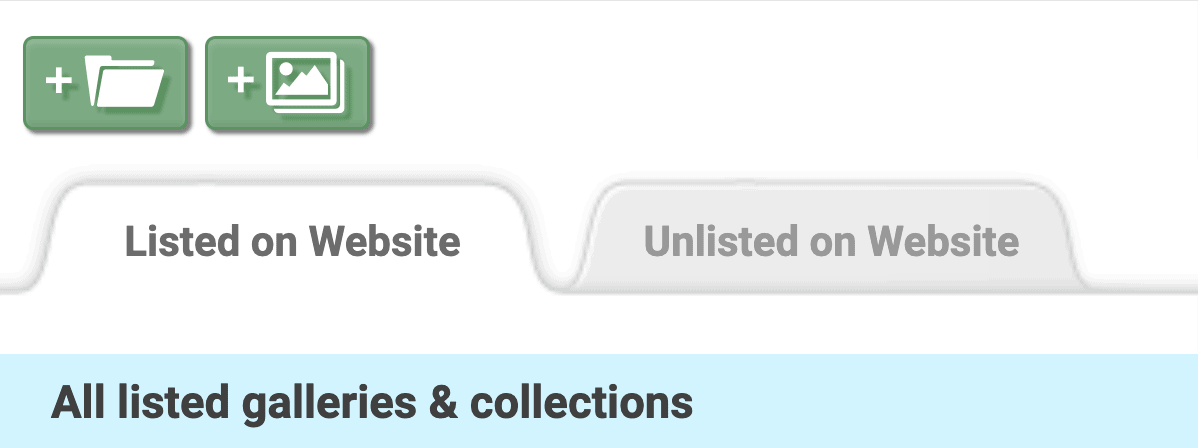
Listed on Website
A “Listed” Collection or Gallery is one that’s publicly visible on your website and can be found in your website’s archive by anyone who visits.
This is the go-to option for showcasing the breadth of your work to potential clients. The content within Listed Collections and Galleries may also show up in search engines, making it easier for people to find your work.
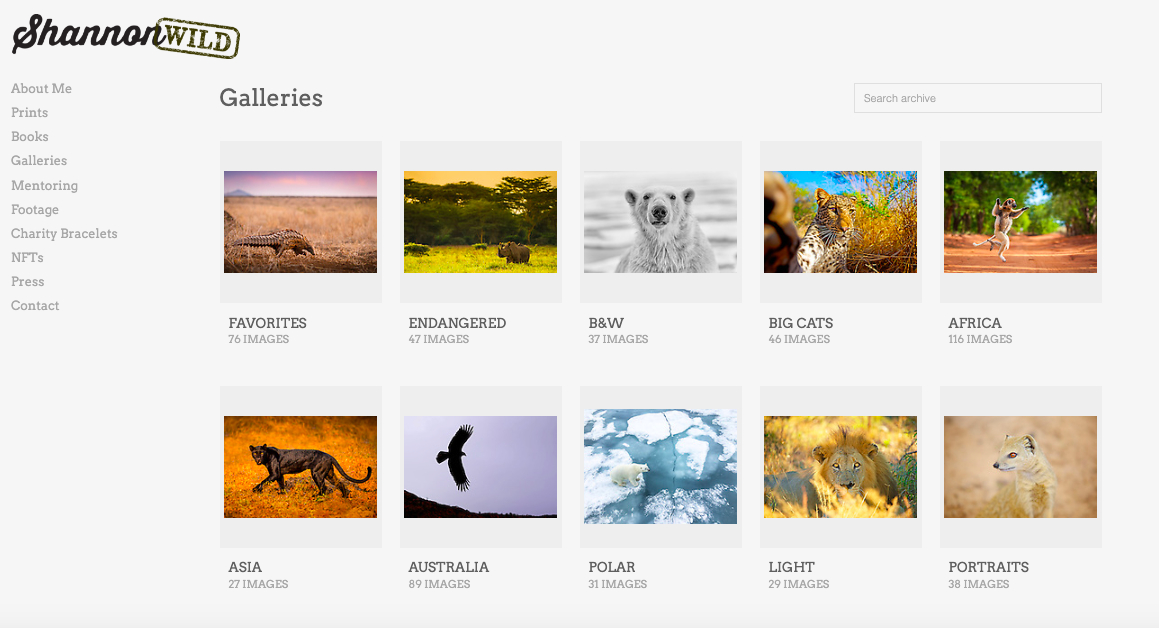
Let’s take a look at wildlife photographer Shannon Wild’s PhotoShelter website, as an example. As you can see from her public archive below, any website visitor can easily identify her Listed Galleries, broken out into the different themes or locations she decides to display.
Once you click into a Listed Gallery, every photo added to that gallery on the backend of Shannon’s PhotoShelter website will be publicly viewable. If Shannon had any Listed Galleries or Collections she needed to protect with a password, you’d see a lock icon under the Gallery here. This way visitors can still see the Gallery on her site, but will need the password to access it. More on Gallery visibility here.
If Shannon has any extra photos from these Galleries – repeats, unedited RAW files, or private images for clients – that’s where Unlisted Galleries come into play.
When deciding to use PhotoShelter, I was a few years into my career and was looking for a beautiful photography website and archiving tool to showcase my work to potential clients, as well as a way to share secure galleries with clients.
Shannon Wild
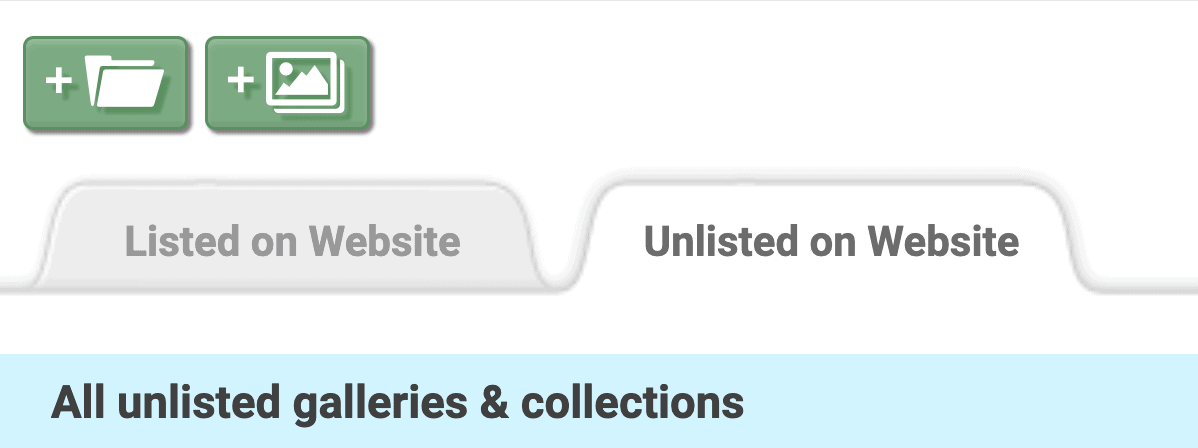
Unlisted on Website
“Unlisted” Collections and Galleries are not publicly visible on your website and are only accessible via a specific link. This is a useful option for sharing work with clients or for storing personal or private images.
The safety and security of our members’ photos has always been a priority for our team at PhotoShelter. That’s why Unlisted Collections and Galleries will remain for your eyes only, unless you share the direct link or set up permissions specifying otherwise (If you want to take the security a step further, you can designate an Unlisted Gallery with a visibility of “no one but me.” That way, even with the direct link no one but you would be able to access it.)
With Unlisted Collections and Galleries, organizing your archive behind the scenes is a breeze. Think of this like your own personal desktop, but stored on the cloud for easy access on-the-go.
If you’re just getting started with PhotoShelter, we recommend uploading all of your photos into the Unlisted on Website section of your Image Browser first, which gives you the opportunity to get organized on the backend and figure out your preferred folder structure before making work public for any website visitors.
From there, moving Unlisted items into the Listed on Website section of your account is a simple process.
The choice is yours
Ultimately, the visibility settings on each of your Collections or Galleries are fully customizable and entirely up to you. You may allow your website visitors to freely view images, or you may require that they first enter a password or log in before browsing.
When deciding whether to place your photos into a Listed or Unlisted Gallery, consider who you want to have access to your images and how you want to present your work to the public. If you want to make it easy for potential clients to find your work, a Listed Gallery is the way to go. If you’re looking to share specific images with a select group of people or keep certain work private, an Unlisted Gallery is the perfect choice.
To learn even more about organizing and managing your files on PhotoShelter, visit our Support Center for help articles, tips and deeper dives into the tools and services we offer for photographers.
