Share
DAM Workflow: How Marketing Teams Use DAM Software Effectively
A digital asset management (DAM) workflow is the repeatable process a team uses to move photos, videos, graphics, and other creative files from cre...

A digital asset management (DAM) workflow is the repeatable process a team uses to move photos, videos, graphics, and other creative files from creation to distribution and long-term storage. It determines how assets are added, organized, reviewed, shared, and maintained inside a DAM.
Without that process, even the best DAMs turn into another crowded place to store content. The goal of the workflow is to make the next step obvious.
What Does a DAM Workflow Look Like in Practice?
For a marketing team, a DAM workflow starts when a photographer uploads images from an event. The team prepares the best files for use, makes approved images available to the right audiences, and gates the rest.
From there, those images might appear in a social post the same day, make a cameo in next year’s campaign, or move into the archive when their usage rights expire. The workflow connects those moments so an asset doesn’t disappear after its first use.
The path will be different for every organization. What matters is everyone knows what happens next, from the person adding new content to the person looking for an approved image years later.
What makes a good DAM workflow?
A good DAM workflow gives every asset a clear path from upload to long-term use. That requires the right software, a well-organized library, useful metadata, a clear approval process, appropriate access controls, and regular maintenance.
DAM software that fits the way teams work
The DAM platform is the foundation of the workflow. It supports the files the team creates, the people who need access, and the steps content passes through each day.
A long feature list matters less than how well those features fit the work. Before choosing a DAM, read our guide to choosing a digital asset management system.
One central content library
A DAM library gives photos, videos, graphics, and other creative files one place to live. It helps people understand what the file is, whether it’s current, and where it fits within the larger content collection.
An organization and metadata system people will use
Folders provide a starting structure, but metadata is what gives people more ways to locate content without knowing exactly where it was filed.
The goal isn’t to fill in every field the DAM offers. Teams should require the information that improves search and helps users understand what an asset contains.
A clear path from draft to approved
Drafts shouldn’t sit alongside approved content ready to be shared. Teams need a defined place to collect feedback, manage versions, and decide when an asset is approved.
Once that decision is made, approved content should be moved to portals and galleries.
Security, permissions, and usage controls
Each user should have the access their role requires. Contributors need to upload files, creative teams need to review them, and employees or partners only need to download approved assets.
Permissions, single sign-on, expiration dates, and rights information help protect sensitive or restricted content.
Clear ownership and regular maintenance
Someone needs to own its structure, maintain shared standards, review outdated content, and decide what should remain active and what should be archived.
Maintenance doesn’t have to become a constant cleanup project. A regular schedule and clear ownership stop small inconsistencies from becoming library-wide problems.
Why is having a digital asset management workflow important?
A digital asset management workflow turns a DAM from an expensive file cabinet into a system people can rely on every day. Without one, teams risk using the wrong version, overlook usage restrictions, recreate existing work, or leave valuable content buried.
A clear process helps content reach campaigns sooner and remain useful long after its first use. Every shoot, campaign, and creative project should contribute to the organization rather than be a one-time expense.
Learn more about the 15 benefits of digital asset management.
The lifecycle of digital asset management
The digital asset management lifecycle is the path an asset follows from creation to long-term use or retirement.
An asset’s lifecycle is not always a straight trip from upload to archive. The goal is to keep that asset useful for as long as it still has value.

1. Create or collect
The lifecycle starts when a team creates, commissions, or receives a photo, video, graphic, document, or other digital asset. Capturing the creator, purpose, and usage terms now prevents the story behind the file from getting lost later.
2. Add to the DAM
The asset enters the DAM while the details surrounding it are fresh. This can happen through a manual upload, camera connection, mobile app, or integration with another platform.
3. Organize
The team places the asset in the library and adds context so people can find it. It shouldn’t require future users to know who uploaded the file or remember the name of the original campaign.
4. Review and approve
The asset is checked before it becomes available for wider use. The team determines if it meets quality and brand standards and whether any restrictions apply.
5. Distribute and use
Approved assets are shared with the employees, partners, media contacts, or audiences who need them. Different assets may follow different paths depending on where they’re going and who should have access.
6. Reuse, update, or archive
An asset doesn’t become useless after its first campaign. It may return for another project, need updated information, or move out of active circulation when it becomes outdated or rights expire.
Types of DAM workflows
There isn’t a silver bullet workflow for every team. The right setup depends on what the team is managing, who needs to be involved, and what must happen before content can be used.
Asset-based workflows
An asset-based workflow manages files according to their individual requirements. A licensed photograph needs an expiration date, while a confidential video requires tighter access controls.
Project-based workflows
A project-based workflow brings the files, versions, feedback, and contributors for a campaign, event, or creative assignment together. Everyone works within the same project until the finished assets are ready for the main library.
Collaborative workflows
A collaborative workflow gives several people a shared place to contribute to or comment on creative work. Photographers, designers, marketers, and outside partners can stay involved without passing files back and forth through email.
Approval workflows
An approval workflow routes content to the people responsible for clearing it. Depending on the organization, that might include creative, brand, legal, compliance, or another stakeholder.
Transactional workflows
A transactional workflow responds to a specific action, such as an upload, request, download, or asset expiration. That action can trigger the next step, whether that means alerting a reviewer, delivering an approved file, or restricting content that is no longer cleared for use.
Archival workflows
An archival workflow moves outdated or inactive content out of everyday circulation while preserving anything that still has historical or future value.
Think of these workflow types as building blocks. A campaign may begin in a project-based workflow, involve collaborative review, pass through approval, and eventually move into the archive. Teams should use the combination that fits the work and leave out any steps that exist only because “that’s the process.”
How to build a digital asset Management Workflow With PhotoShelter
A good DAM workflow should begin with one real job your team handles regularly. Trying to recreate every folder, rule, and exception from your old system on day one usually brings the old mess into the new DAM.
Start with a common process, such as moving event photography from upload to approved social content. Once that path works, you can adapt it for other teams and projects.
1. Map one content process
Choose one type of content and identify who handles each stage, where decisions are made, and what the finished asset needs to accomplish.
Then question every handoff. If a step exists only because the previous system required it, do not automatically bring it into PhotoShelter. Build around how your team wants to work now.
2. Build a simple library structure
In PhotoShelter, Collections organize related Galleries, while Galleries hold the assets themselves. A university might create a Collection for the academic year, with separate Galleries for commencement, athletics, campus life, and other events.
In the Lumen Library, select Add, choose New Collection or New Gallery, name it, and select where it belongs. Keep the first level broad enough to remain useful as the library grows. If people have to open eight folders to reach an image, the structure is already doing too much.
PhotoShelter’s Lumen upload guide shows how to create Galleries and add files.
3. Decide what metadata to add
Choose the information people will use to search for content or understand what it shows. That might include the event, location, department, photographer, people pictured, campaign, or content type.
For batches that share the same information, create a Metadata Template by going to Settings, selecting Metadata, opening Metadata Templates, and choosing Create Template. After uploading, select the files, choose Edit Metadata, and apply the appropriate template. Review the fields before saving so existing information is not overwritten accidentally.
Metadata Templates let teams apply saved information to multiple files at once.

4. Set access around people’s roles
Create user groups based on people’s responsibilities instead of assigning permissions one person at a time. Contributors, Library Staff, employees, agencies, and media contacts may each need different levels of access.
PhotoShelter allows teams to set View and Download permissions for Collections and Galleries. Content can be public, limited to invited users, or private to Library Staff. Start with the smallest appropriate audience. Access can always be expanded once the content is ready.
See how to create Invited User Groups and manage permissions in Lumen.

5. Create a workspace for review
If content needs feedback or approval, create a Workspace before adding the finished selections to the Library. Click the plus icon beside Workspaces, add a name and description, and invite the people who need to participate.
Reviewers can comment on files and mark them approved or denied. Once the final selections are clear, copy them into the appropriate Gallery in the Library.
See the current steps for using Workspaces in Lumen.
6. Build the destination around its audience
Once content is approved, place it in the Gallery or Collection created for its audience and make it available through the Portal.
Think about what that person should see when they arrive. A campus department may need brand photography and logos, while a media contact may only need press-ready images. Curating each destination makes the right content easier to choose.
The safe choice should also be the easy choice. Employees and partners should be able to find approved assets without searching the entire Library or contacting the creative team for every file.
7. Test the workflow with a real assignment
Run one assignment through the complete process. Ask a contributor to upload content, a reviewer to approve it, and an invited user to find and download the finished asset without help.
Any point where someone gets stuck deserves another look. The best test is not whether the workflow looks organized to the person who built it. It is whether everyone else can follow it without asking what happens next.
Revisit the process after the project ends, too. Confirm that outdated files, expired content, and unused drafts have somewhere to go. A workflow only works if it still makes sense after the campaign is over.
Using AI for your DAM workflow
AI works best in a DAM when it removes repetitive tasks without removing human judgment. Teams still decide what content is approved, how it’s used, and who should see it. AI handles more of the work that makes those decisions easier.
PhotoShelter’s AI tools can automatically tag people, players, objects, and logos as files enter the library. AI Alt Text and Video Transcription prepare content for more accessible use, while AI Visual Search helps people find relevant photos and videos even when the metadata is incomplete. AI Similarity Search can also uncover fresh options with the same look and feel as an existing asset.
See how PhotoShelter AI supports search, tagging, accessibility, and content delivery throughout the DAM workflow.
Ready to transform your team’s creative workflow?
You May Also Like
-
Brand Growth, Trendsetters
More Leading Brands Join the PhotoShelter Millions Club
Get to know the latest brands to join the PhotoShelter Millions Club, each housing over one million files in their media libraries.
-
PhotoShelter News, Product Updates
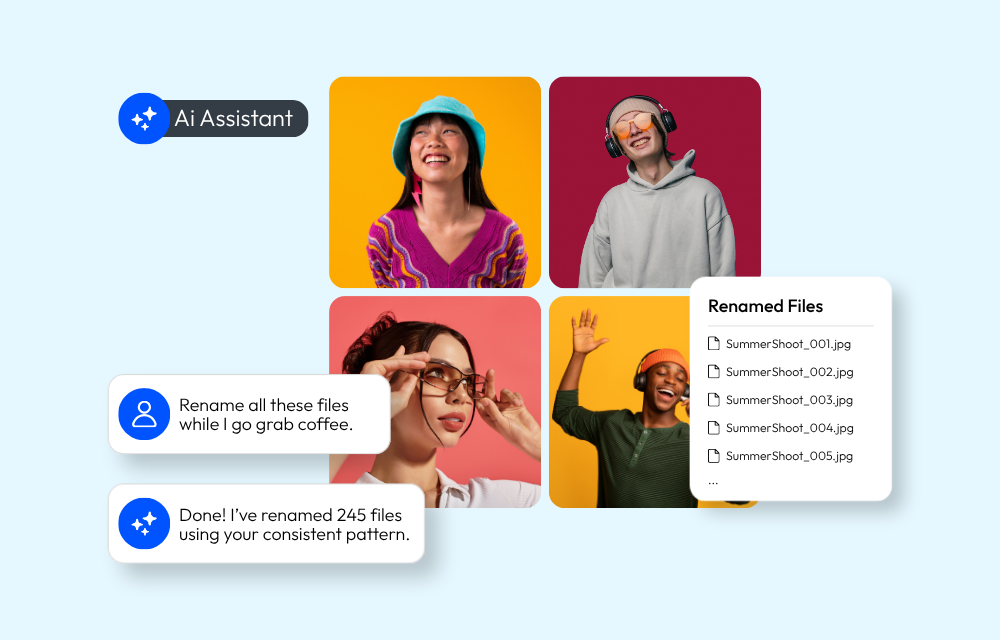
PhotoShelter Introduces AI Assistant
PhotoShelter’s AI Assistant helps teams rename files, build galleries, clean up metadata, and organize assets using plain-language requests.
-
DAM 101
What is the Best Bynder Alternative? PhotoShelter vs. Bynder
Compare PhotoShelter to Bynder on AI search, onboarding, and integrations. Find the best DAM for your team.


